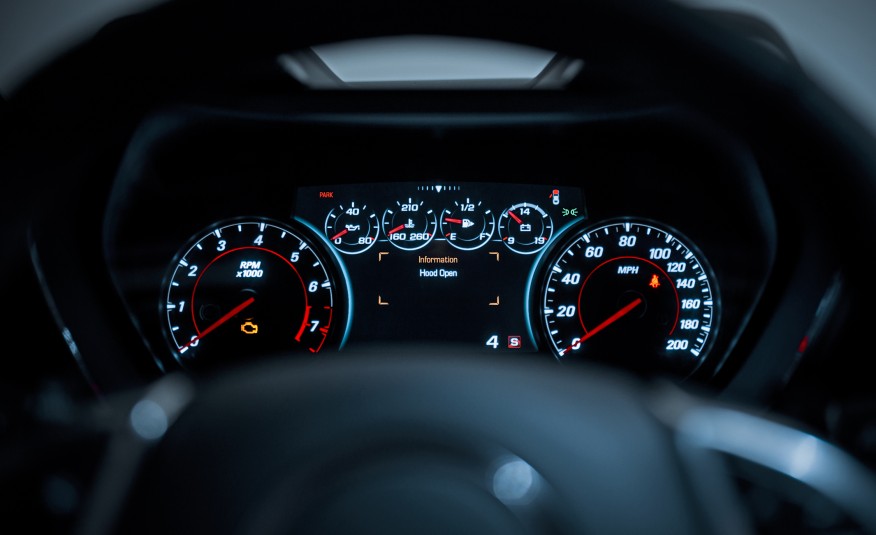
Brighten Up Your Gauges: LED Light Swap

Everyone that likes interior car mods will absolutely love an LED light swap for their gauge cluster, including Camaro enthusiasts. While stock Camaros typically have sleek, streamlined gauges, there are still plenty of different ways to upgrade your car’s cockpit. LED lights are one of the most popular methods.
Here are just a few advantages of LED gauge lights:
- Safety: Brighter gauges are simply easier to read. From your Camaro’s speed to the oil temperature, it’s always better to have critical gauge info right out in front, with crystal-clear visibility. Few interior car modifications can instantly improve interior visibility (a much-overlooked aspect of car safety) quite like an LED light swap for your Camaro gauges.
- Appearance: Sometimes, safer just looks better. Such is the case with a Camaro gauge LED light upgrade. Set aside the important safety aspects for a second, and admire the bright, vibrant colors and easy-to-read backlit setting of a Camaro gauge LED modification.
- Resell value: Want to make your Camaro more attractive to a potential buyer. Interior upgrades to your Camaro’s cockpit – for example, a Camaro gauge LED installation – provide a “wow factor” for test drives, particularly in the evening. Pro tip: if you’re selling your Camaro and have a modified LED gauge cluster, make sure you schedule a test drive when it’s dark outside; this will help your Camaro’s interior really stand out!
Camaro Gauge LED Light Swap
What’s all involved with an LED light swap? If you’ve never done a Camaro gauge LED light swap before, it’s much easier than you think. The process involves “swapping out” regular lighting components on your gauge control panel with LED connections.
Tools required:
- Flat head screwdriver
- Small Philips screwdriver
- Replacement LEDs
Time required:
- You should be able to complete a Camaro gauge LED light swap in about an hour – less, if you have a friend to help.
Step-by-step process to swap out regular lights with LED lights on Camaro gauge cluster:
- First, gently pry apart gauge bezel housing unit with a flat head screwdriver.
- Remove gauge housing from dashboard.
- Remove the rear cable leading into the back of the gauge control unit.
- Carefully “pop” plastic tabs all around the exterior of the gauge control unit.
- Remove circuit board from the gauge control housing. Watch for small white tabs protruding from the back of the circuit board. CAUTION: apply gentle pressure to remove circuit board from the rest of the gauge unit. Excessive force can damage electrical components.
- Remove factory light connectors on circuit board.
- Install new LED light connectors on circuit board. For a complete LED makeover, you should change at least 20 connections.
- Re-install circuit board component by reversing steps 1 through 7.
We also recommend a final step to ensure a quality installation: take your car for a test drive in the evening to make sure the LED light swap is working correctly.
From interior upgrades to the latest exterior modifications, RPI Designs is your Camaro parts headquarters. With a premium selection of custom-manufactured components designed to fit your Camaro, you’ll find plenty of accessories to choose from – and if you can’t, call our Camaro accessory experts at 888.257.8515.


Recent Comments